
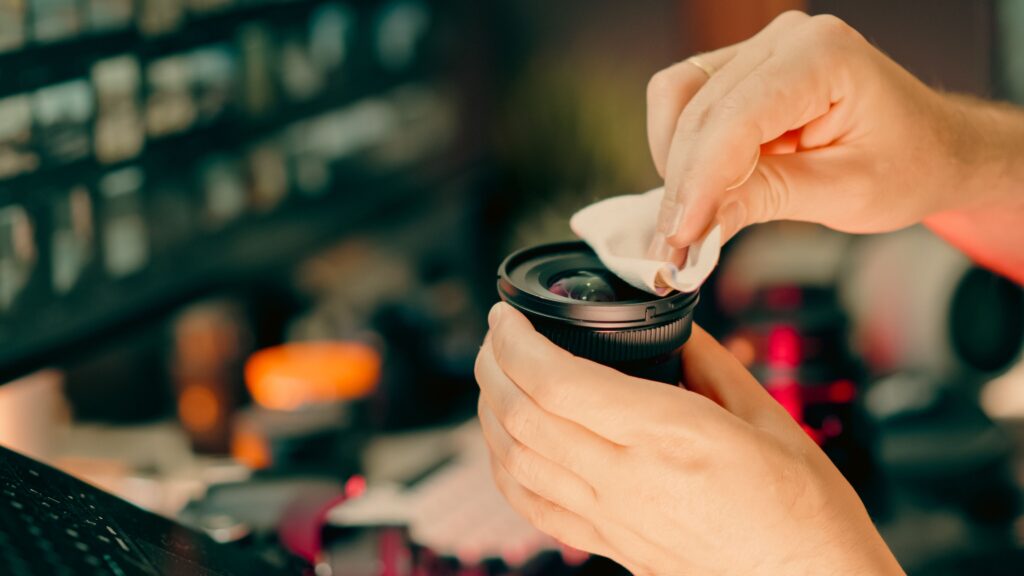
You notice a smudge on your lens right before an important shot. Your first instinct? Grab the nearest cloth and wipe it off. But before you do that split-second decision could leave a permanent scratch on your glass.
Cleaning a camera lens isn’t complicated, but doing it wrong can cause real damage. The good news is that once you know the right steps and the right tools, it takes less than five minutes and your lens will look as good as new. In this guide, you’ll learn exactly how to clean your camera lens safely at home !
Why Cleaning Your Camera Lens the Right Way Matters
A small smudge or fingerprint might not seem like a big deal, but it can soften your images, reduce contrast, and create unwanted flare (especially when shooting against bright light). The problem isn’t just the dirt itself; it’s how most people try to remove it.
Wiping a lens with the wrong material (even something that feels soft, like a cotton t-shirt or a paper tissue) can leave tiny scratches on the lens coating over time. Camera lenses have delicate anti-reflective and protective coatings that are surprisingly easy to damage if you’re not careful. Once that coating is scratched, there’s no fixing it!
The right technique protects both the glass and the coating, giving your lens a long, healthy life.
⚠️ Watch Out: Common Cleaning Mistakes to Avoid
These everyday items might seem harmless, but they can permanently damage your lens coating!
[Paper tissues or napkins] Rough fibres cause micro-scratches you won’t even notice until it’s too late.
[Your t-shirt or clothing] Contains dust particles and rough fibres (even if it feels soft to the touch).
[Blowing with your mouth] Saliva droplets leave residue and can encourage fungus growth over time.
[Household glass cleaners] The chemicals in everyday cleaning sprays will damage your lens coatings permanently.
What You Need Before You Start (And What to Avoid)
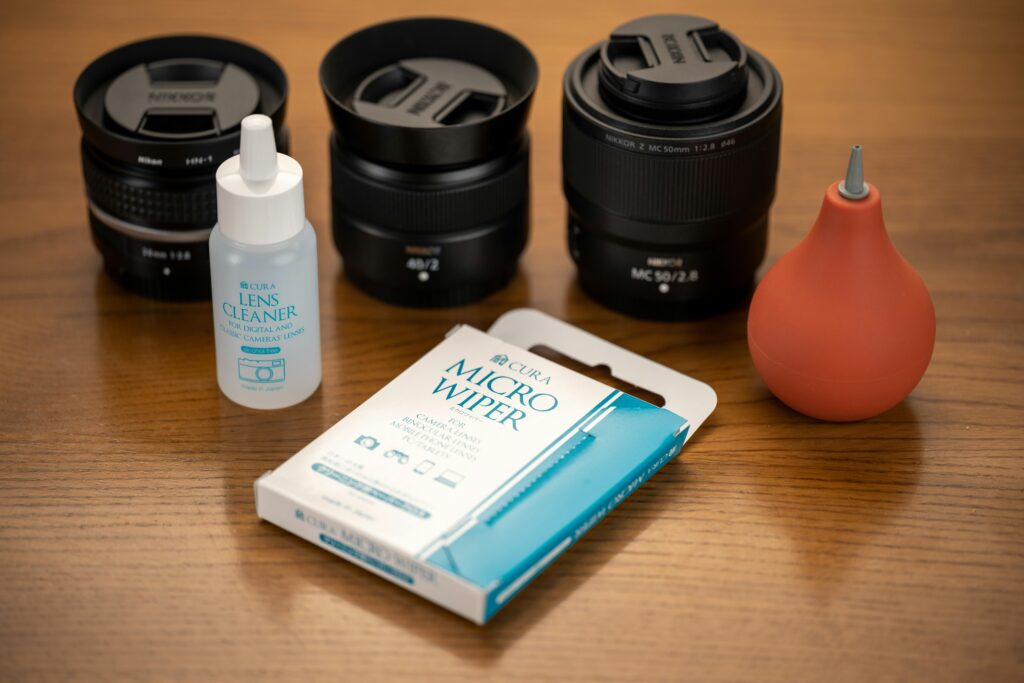
Good news: you don’t need an expensive kit to clean your lens properly! You just need the right three tools.
The Three Tools You Need
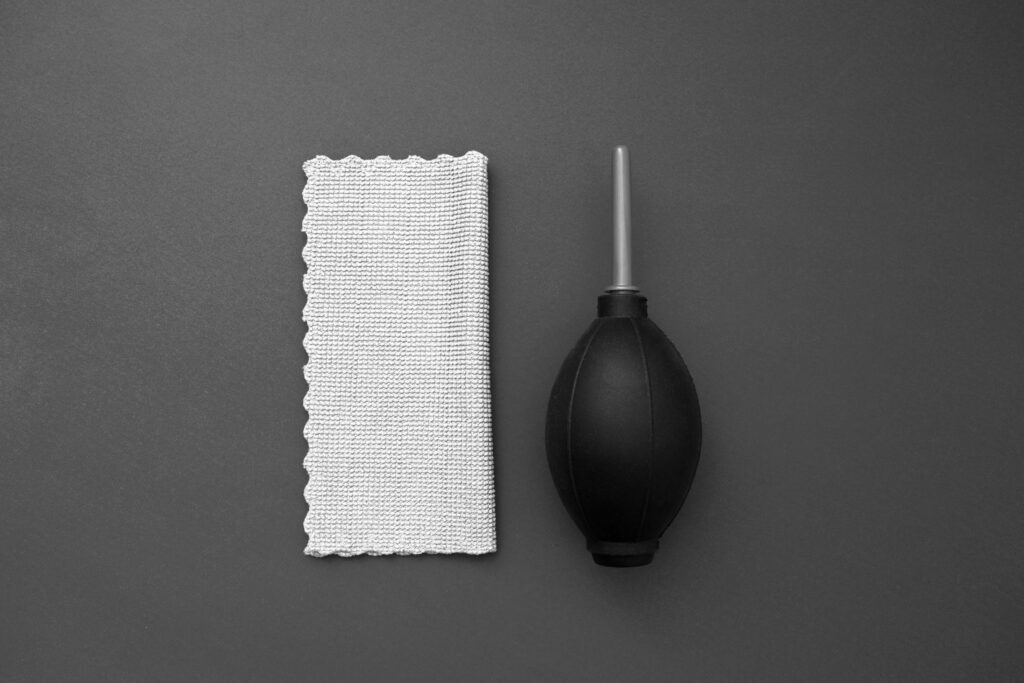
1. An Air Blower
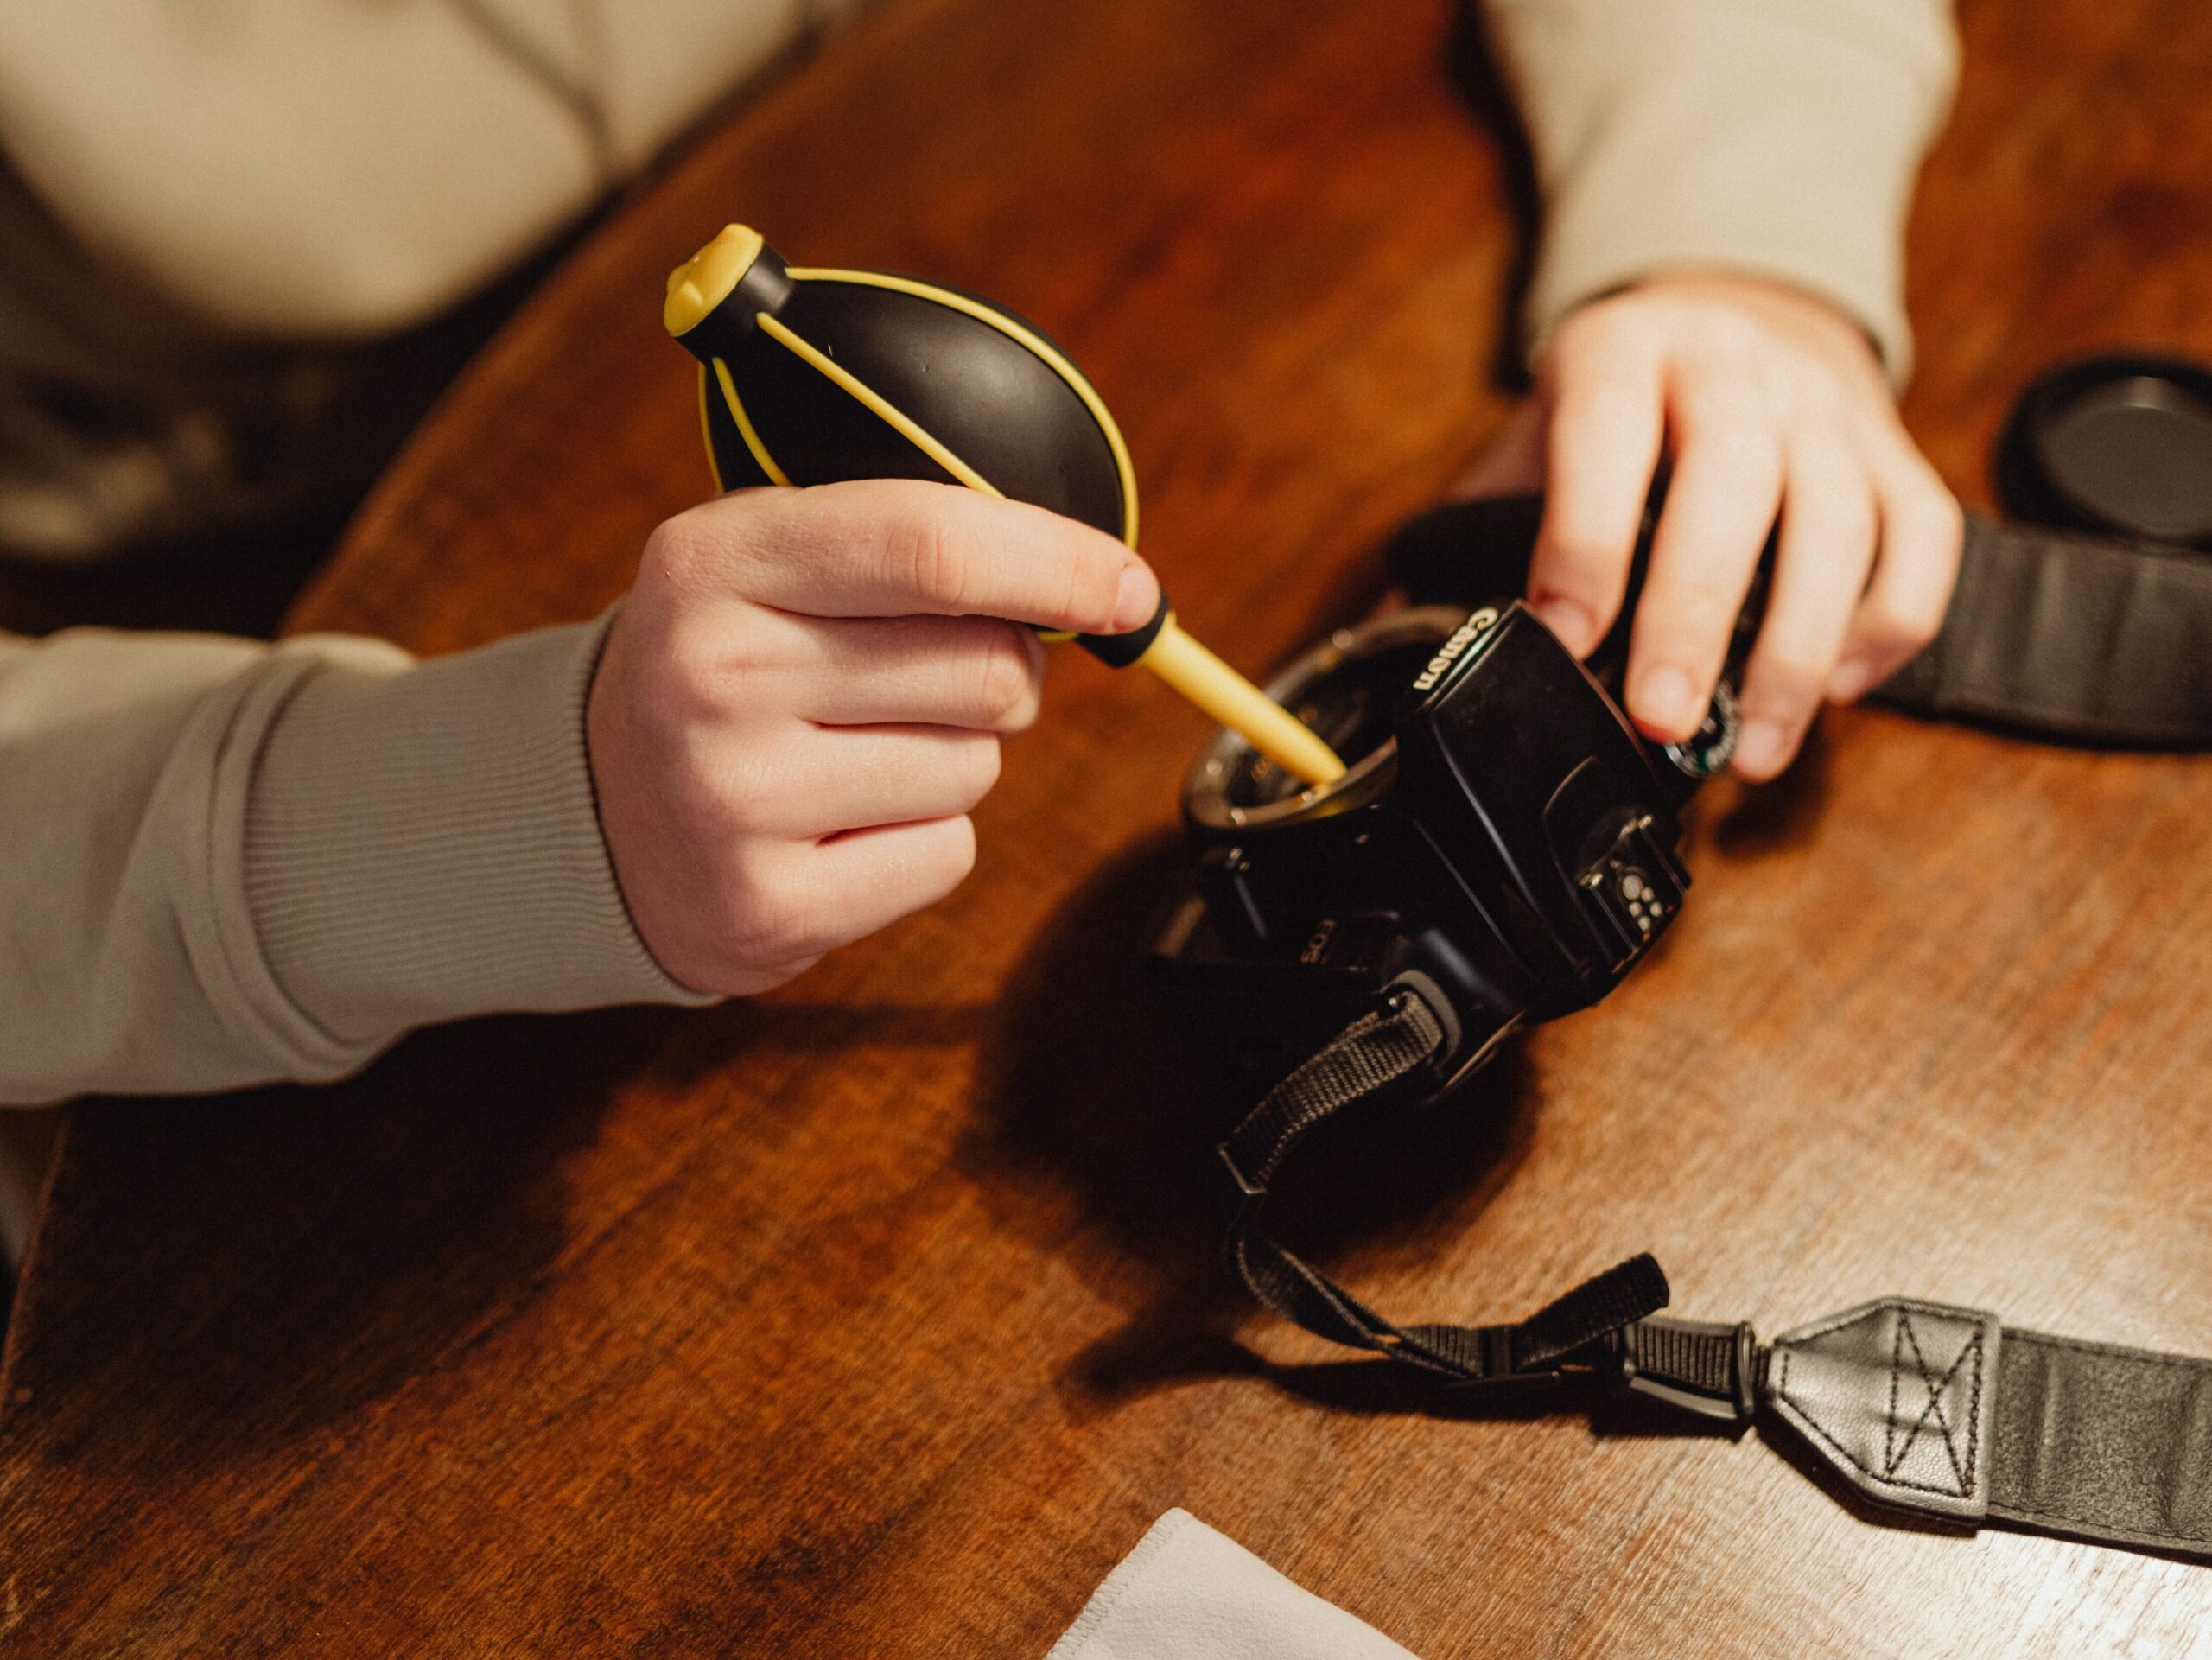
A rubber air blower (sometimes called a bulb blower) lets you blast loose dust off the lens surface without touching the glass at all. This is always your first step. Never use canned compressed air (the pressure is far too high and can damage the lens or force dust inside the barrel).
2. A Lens Cleaning Brush
A soft, dedicated lens brush sweeps away any remaining loose particles after blowing. Make sure it’s a brush made specifically for camera optics (never use a paintbrush or makeup brush, which can leave fibres or oils behind).
3. Lens Cleaning Tissues and Lens Cleaning Solution
For smudges and fingerprints that blowing and brushing can’t fix, you need a dedicated lens cleaning tissue (or a microfibre cloth designed for optics) paired with a small amount of lens cleaning solution. Never apply liquid directly to the lens (always apply it to the tissue first!).
How to Clean Your Camera Lens: Step-by-Step
Now that you have the right tools, here’s the process. Always follow these steps in order (skipping straight to the cleaning tissue without blowing first is one of the most common mistakes beginners make!).
Step 1 — Blow Away Loose Dust
Hold the lens facing slightly downward and use your air blower to give it several short, firm puffs. This removes any loose dust or grit before you touch the surface. If you skip this step and go straight to wiping, you risk dragging those particles across the glass and scratching the coating.
Step 2 — Brush Away Remaining Particles
Using your lens brush in gentle, light strokes, sweep any remaining dust from the centre of the lens outward toward the edges. Don’t press hard (the goal is just to lift and move particles, not scrub them off).
Step 3 — Wipe with a Cleaning Tissue
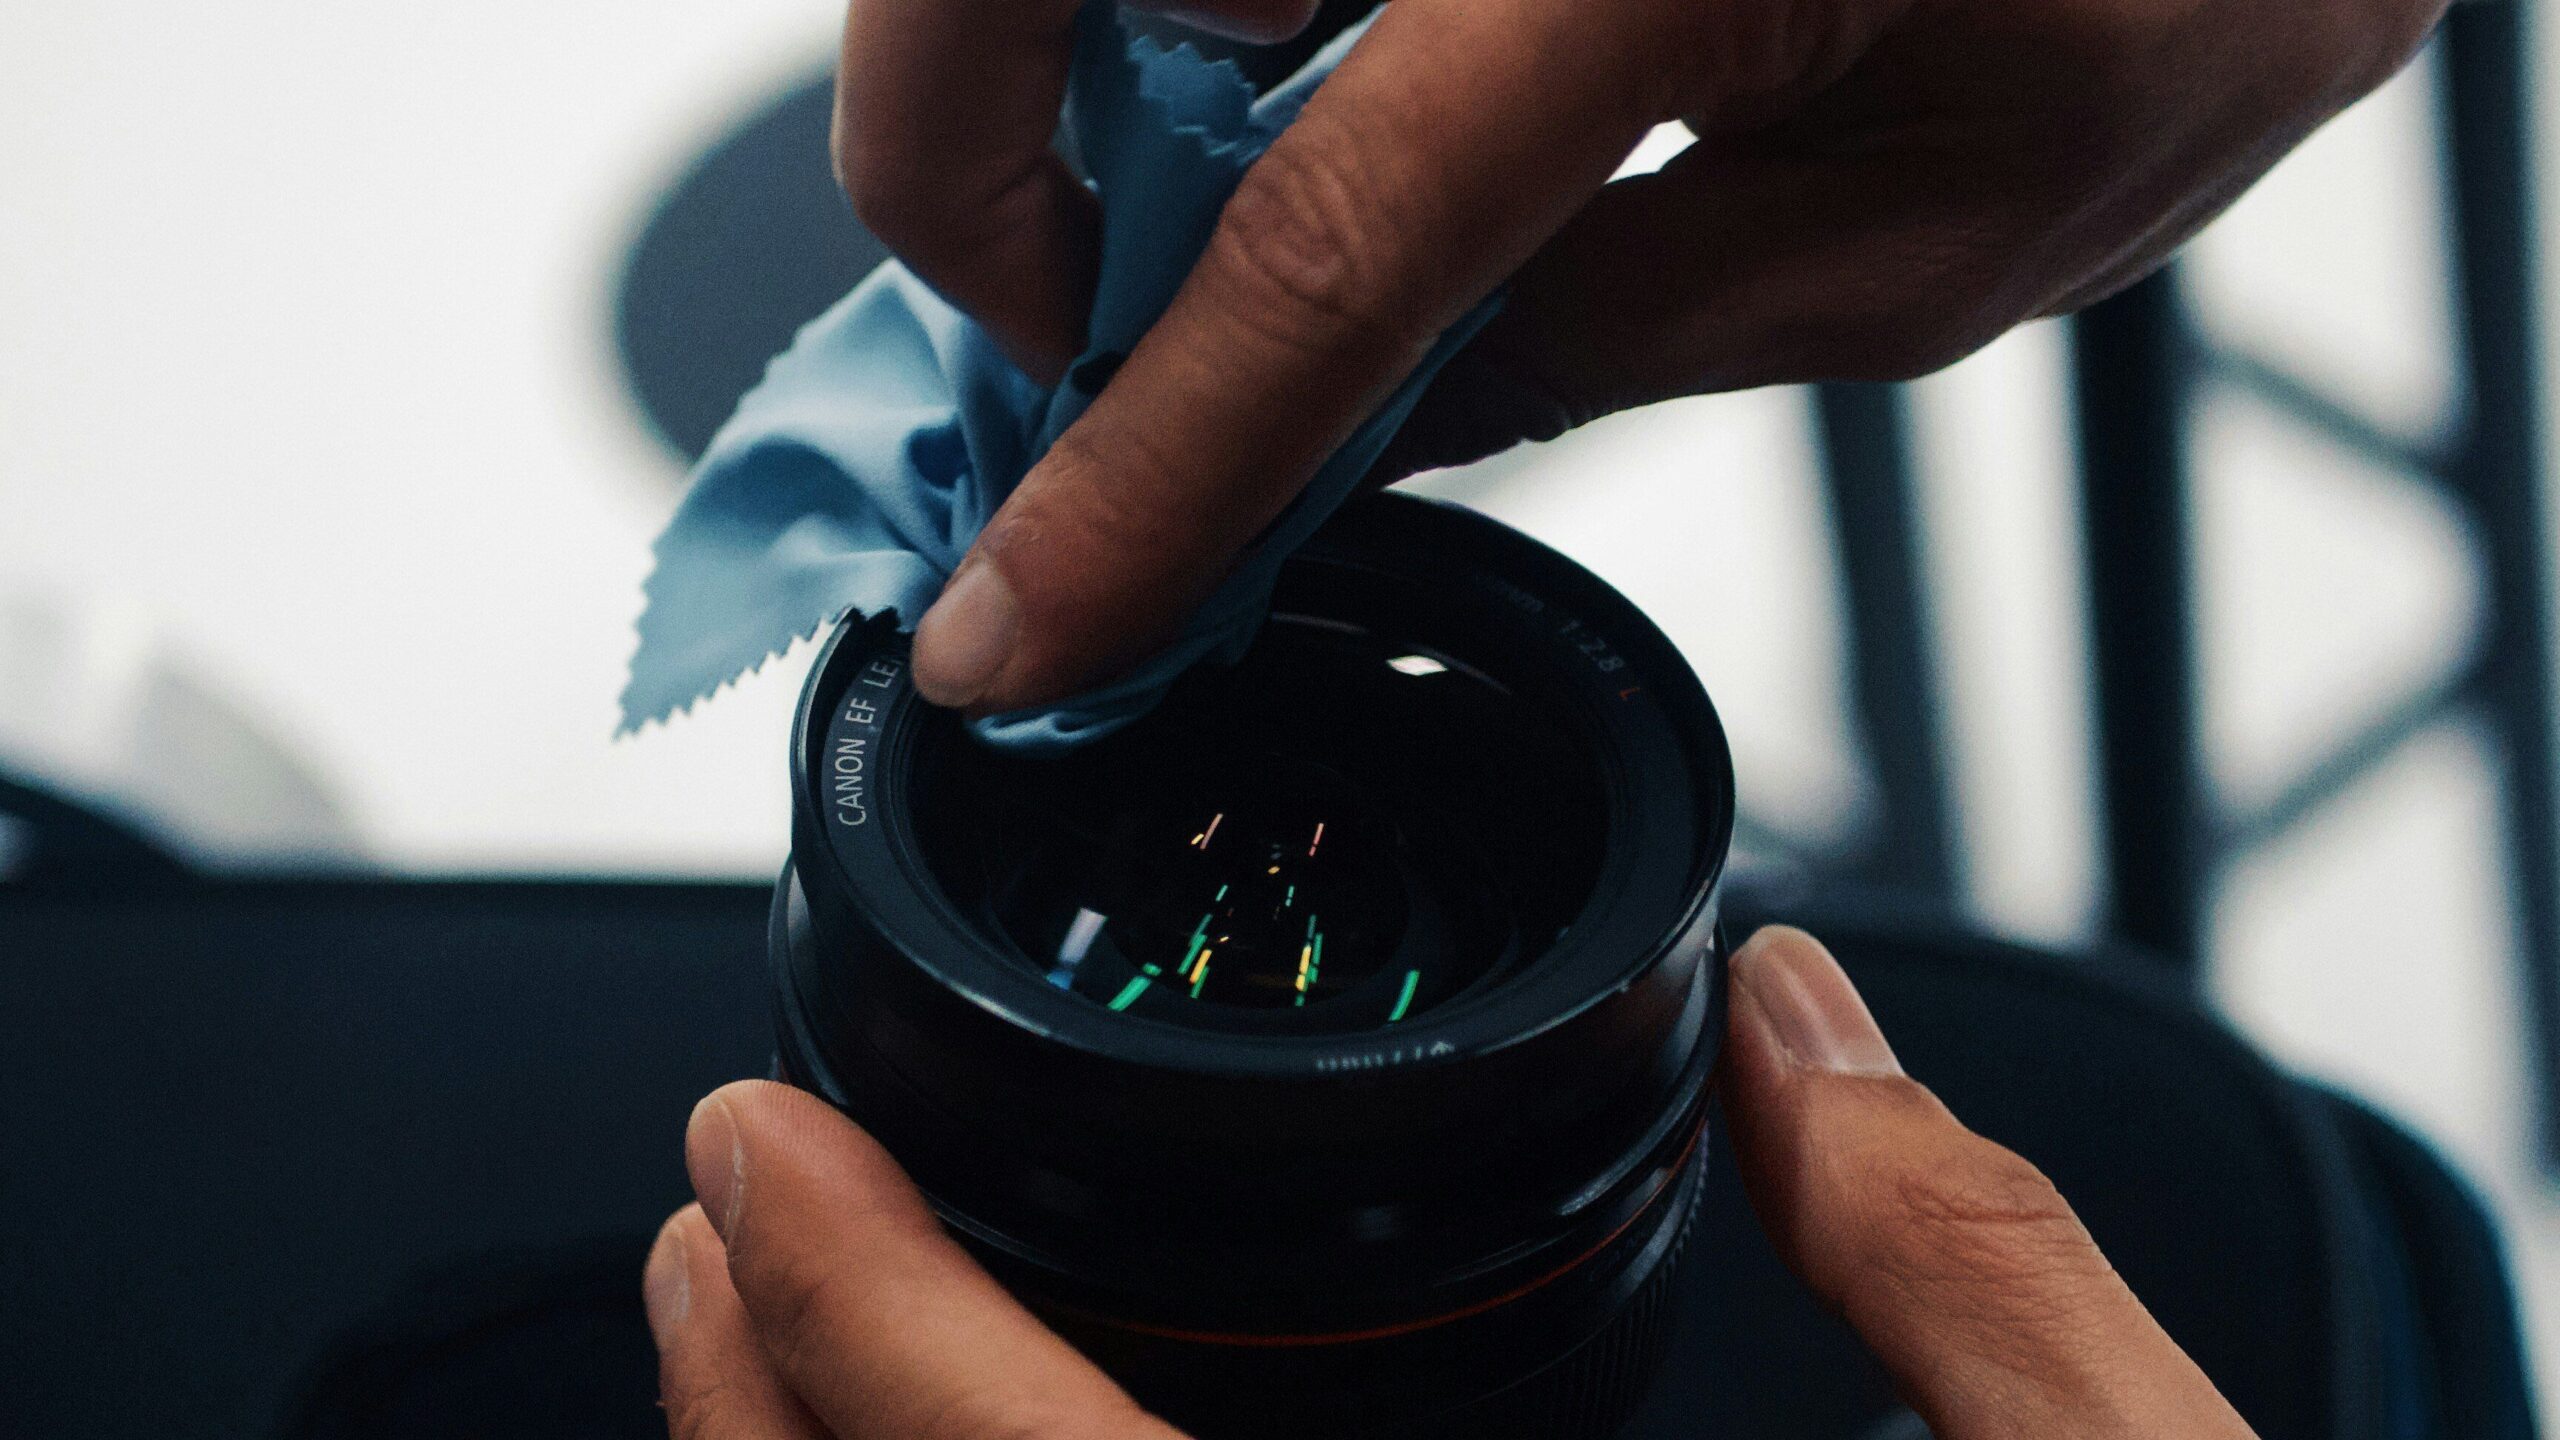
If there are still smudges or fingerprints after blowing and brushing, apply one or two drops of lens cleaning solution to a lens tissue (never directly onto the glass!). Then wipe the lens using a gentle circular motion, starting from the centre and working outward toward the edges.
Use a fresh part of the tissue for each wipe, and never reuse a tissue (a used tissue picks up particles that can scratch the coating on the next pass).
💡 Quick Tip: Work from the Centre Outward
Always wipe from the centre of the lens toward the outer edge (never in random back-and-forth strokes). This technique moves any remaining particles away from the centre of the image area, where they would have the most impact on your photos!
How to Clean Different Parts: Front, Rear, and Filter
Not all parts of your lens need the same level of care (and knowing the difference could save you from a costly mistake!).
The Front Element
This is the large glass at the front of your lens that faces your subject. It’s the most exposed part and will collect the most dust, fingerprints, and moisture. Follow the full three-step process described above for the front element.
The Rear Element
The rear element is the small piece of glass at the back of the lens that connects to your camera body. It’s far more sensitive than the front (because it sits much closer to your camera sensor). Be extra gentle here, use less cleaning solution, and avoid touching it unless you genuinely need to. Dust on the rear element can have a much more visible impact on your image quality than dust on the front.
UV Filters (If You Use One)
Many photographers keep a UV or clear protective filter on the front of their lens at all times. This is actually a smart habit (it protects the expensive front element, and you can clean the filter more confidently without worrying about damaging the lens itself). Clean a filter the same way you would the front element.
How Often Should You Clean Your Lens?
Here’s something that might surprise you: cleaning your lens too often is actually not a good habit! Every time you wipe the glass, there’s a small risk of introducing scratches (even with the right tools). The goal is to clean only when it’s truly necessary.
A good general approach:
(After shooting outdoors) Give the lens a quick blow and brush if you were in dusty, sandy, or wet conditions.
(When smudges affect your shots) Do the full three-step clean when fingerprints or smudges are visibly impacting your image quality.
(Before a special shoot) A quick inspection and clean before an important event, trip, or session is always worth doing.
(Every few months) If you shoot frequently, a gentle routine check every couple of months keeps things in great shape.
The best way to reduce how often you need to clean is to prevent dirt from getting there in the first place! Always put your lens cap on when the lens isn’t in use, store your gear in a clean bag, and handle the front element as little as possible.
Keep Your Glass Clean, Keep Your Shots Sharp!
A clean lens is one of the simplest things you can do to protect your image quality (and it costs almost nothing once you have the right tools!). The key is patience: take it step by step, use the right materials, and resist the urge to grab the nearest piece of cloth.
Your lens is one of the most important investments in your photography kit. Treat it well, and it will reward you with sharp, clear images for years to come!
📸 Explore More Guides
Ready to get more out of your camera gear? These guides are a great next read!
(Gear Essentials) How to Choose a Camera Tripod: A Beginner’s Guide — Everything you need to know about picking your first tripod.
(Travel Photography) Travel Tripod Buying Guide: Lightweight, Compact, and Actually Worth It — Find the perfect tripod for shooting on the go.
(Filters & Lenses) ND Filters Explained: Do You Actually Need One as a Beginner? — Another essential piece of kit worth understanding early on.
Leave a Reply