
You’ve probably seen those dreamy photos of silky waterfalls or smooth, flowing clouds — and wondered how anyone gets that look. Or maybe you’ve noticed that your video clips on a bright sunny day look a little “off,” even though your camera settings seem fine.
A lot of the time, the secret is a small, affordable accessory called an ND filter. But here’s the honest question most guides skip: as a beginner, do you actually need one? In this guide, you’ll learn exactly what an ND filter does, when it genuinely helps, and how to pick your first one without overspending.
What Is an ND Filter, Really?
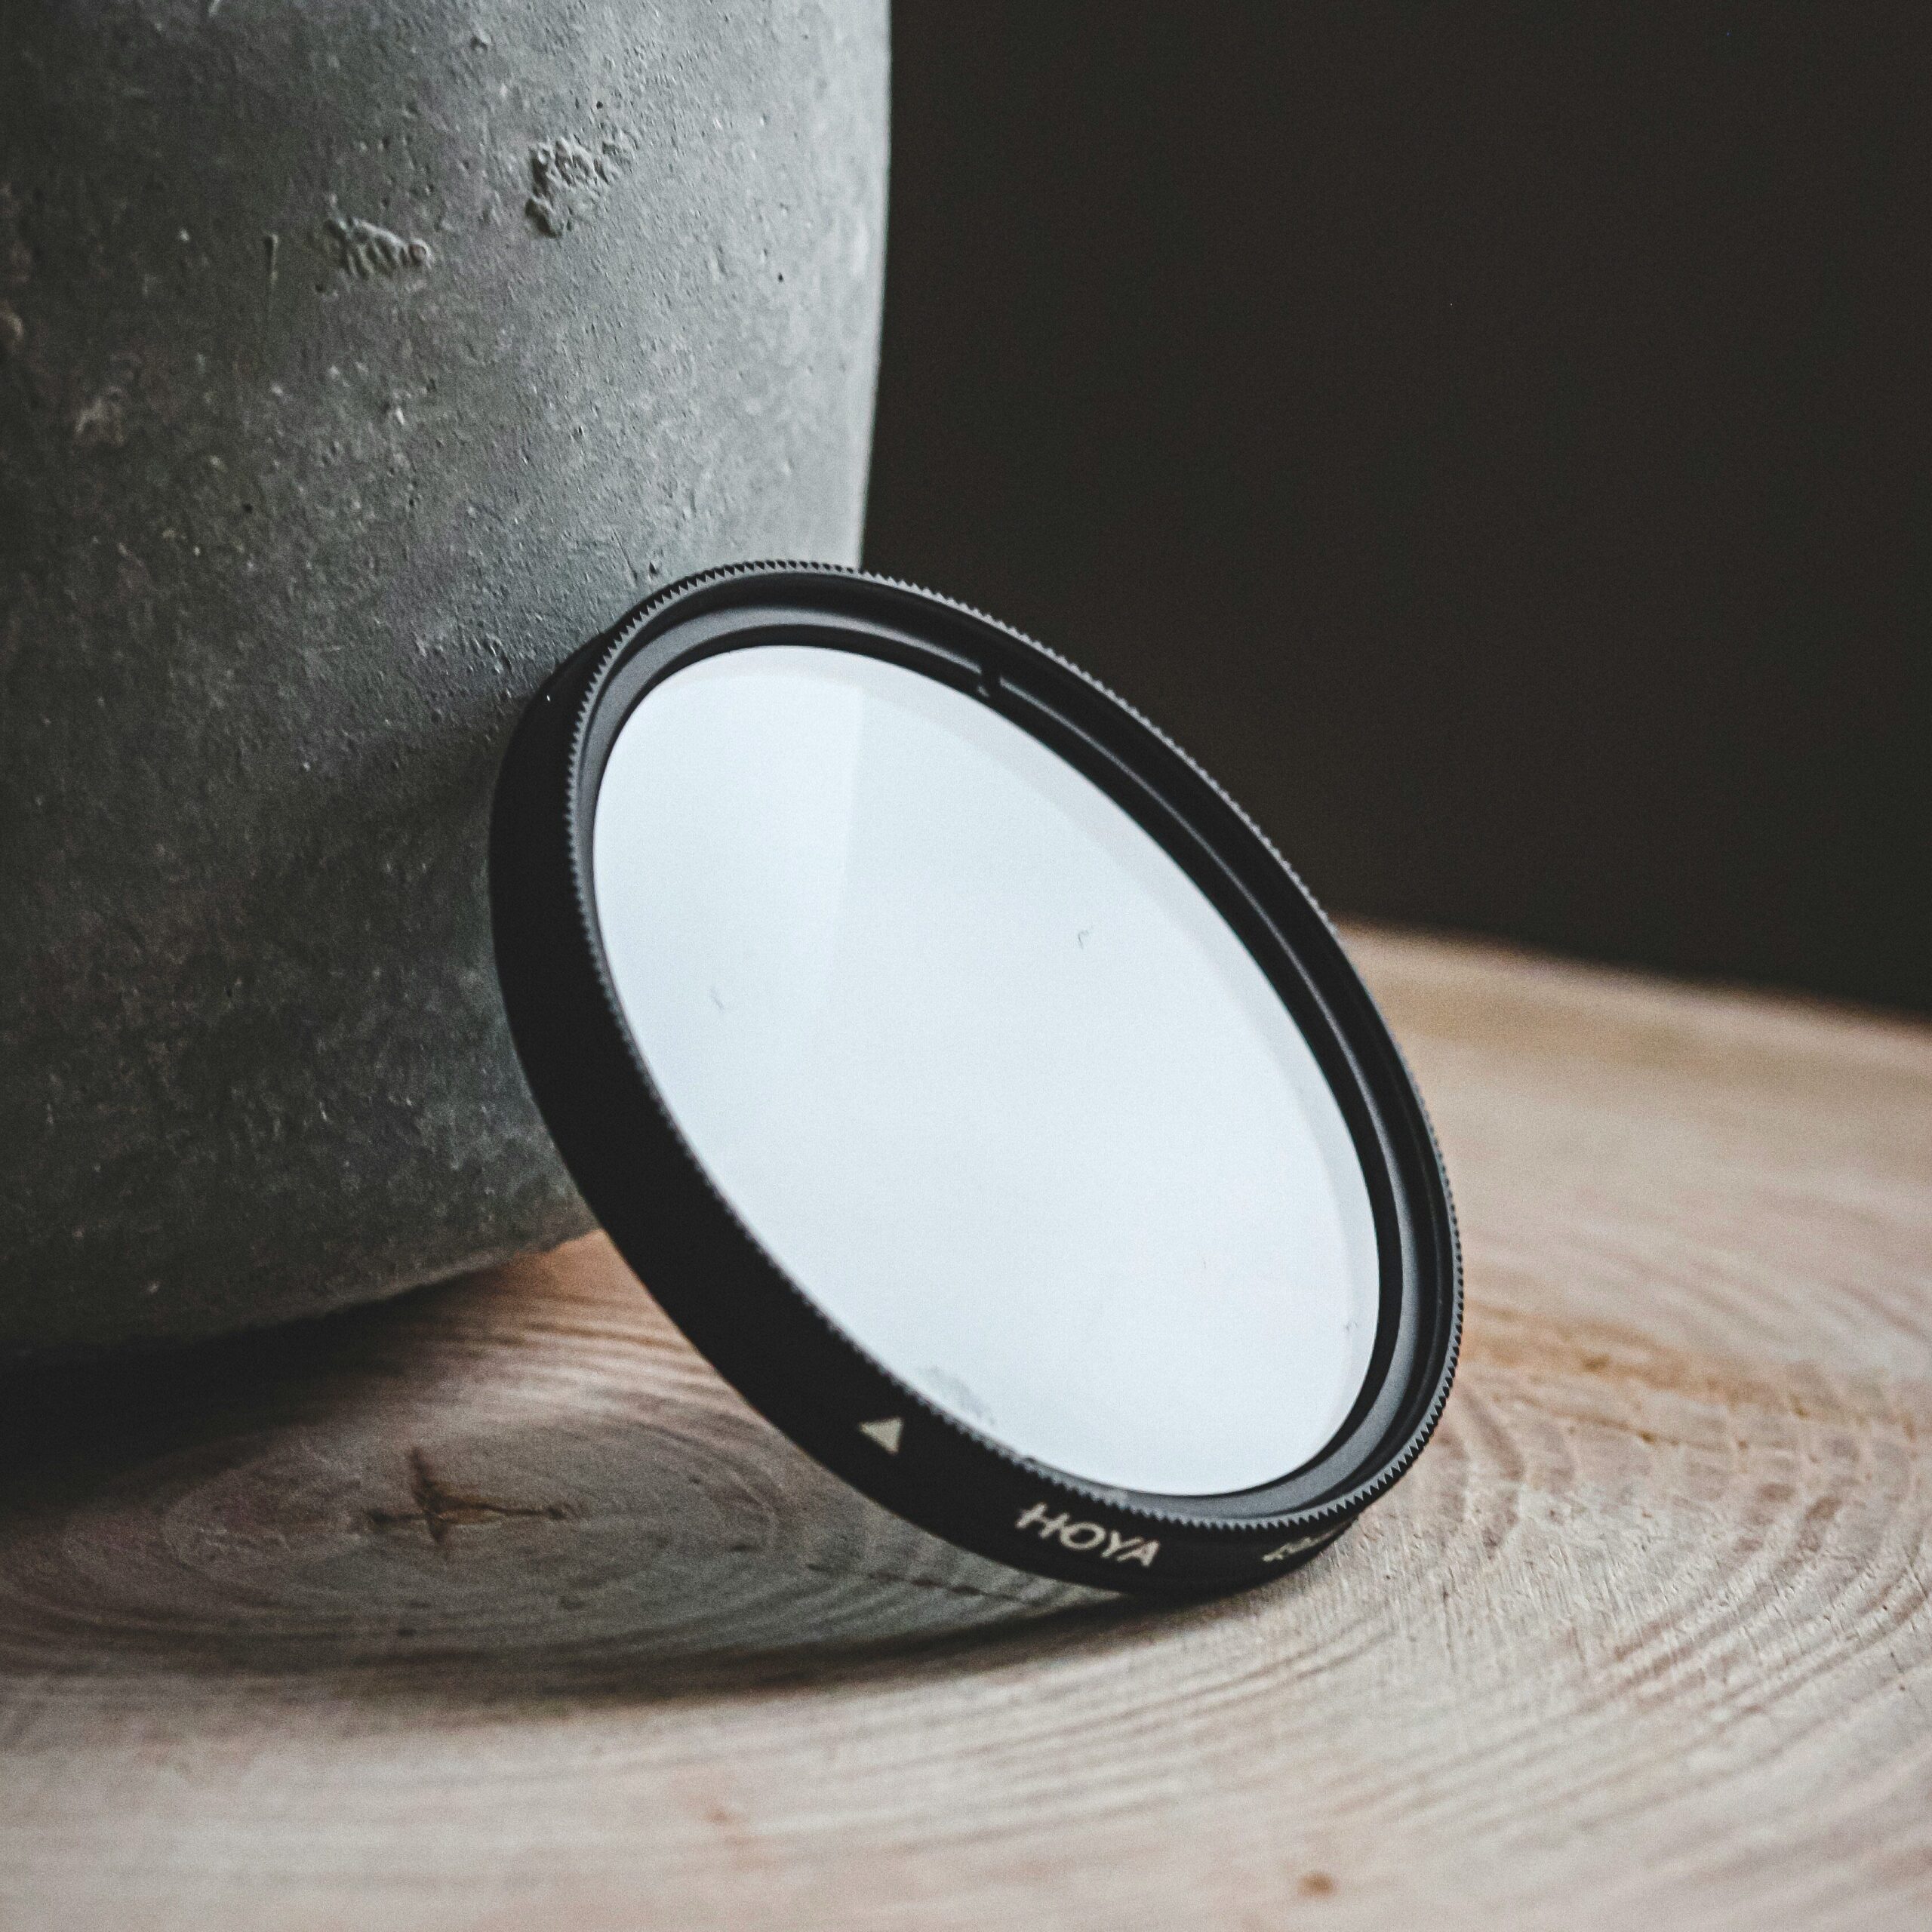
Think of an ND filter as sunglasses for your camera lens. That’s the simplest way to understand it.
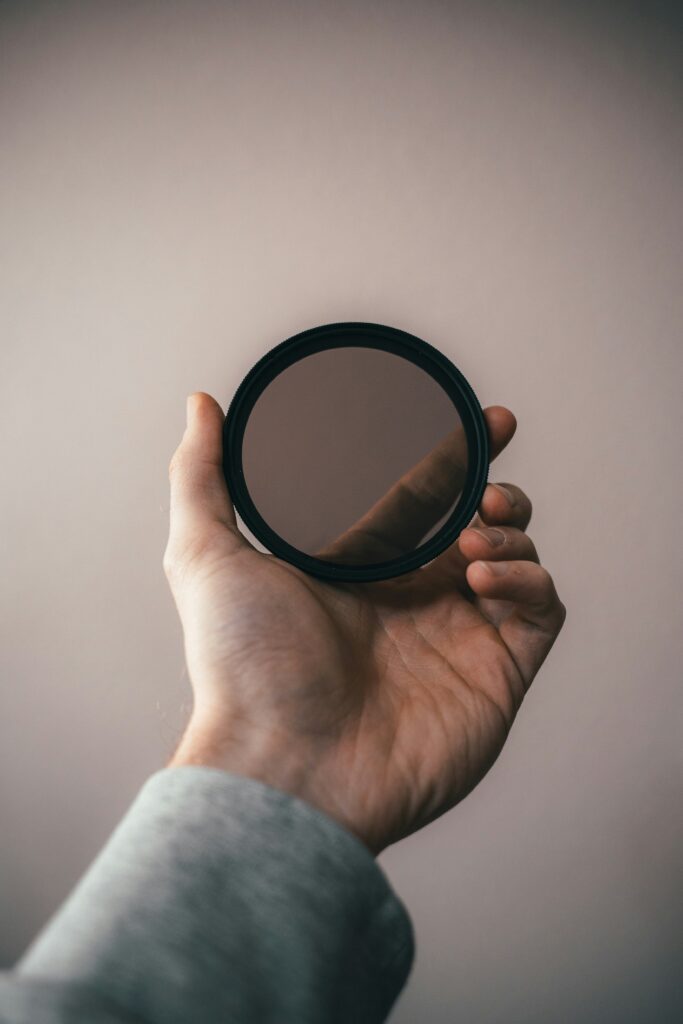
An ND filter (short for Neutral Density) is a piece of dark glass or resin that you attach to the front of your lens. Its only job is to reduce the amount of light entering the camera. It doesn’t change the colors, and it doesn’t blur your image — it just makes everything a little (or a lot) darker, evenly across the whole frame.
Why would you want a darker image? That sounds like the opposite of what most beginners worry about. The answer is all about control, which is what the next section is about.
💡 Quick Tip: The “Neutral” in Neutral Density means the filter shouldn’t add any color tint to your shots. A good ND filter only changes brightness — not the look or feel of your colors.
What an ND Filter Actually Does for Your Photos and Video
Reducing light gives you two big creative powers that are hard to get any other way.
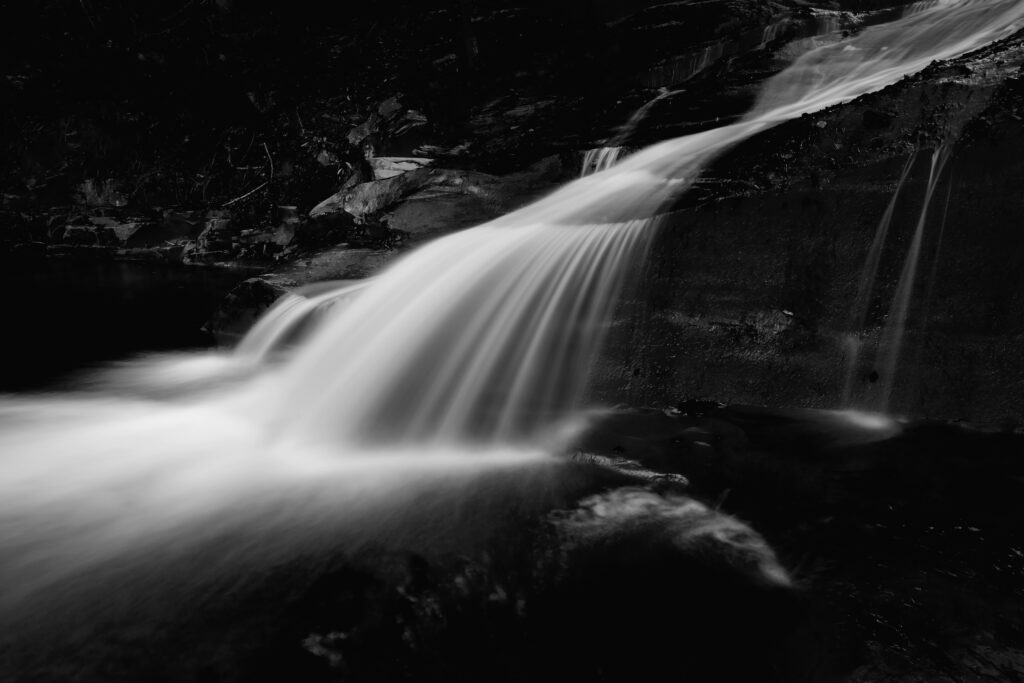
For photos, an ND filter lets you use a much slower shutter speed, even in bright daylight. A slower shutter is what turns moving water into a smooth, silky blur, or makes moving clouds streak softly across the sky. Without an ND filter, your photo would just be overexposed (too bright) if you tried this in daylight.
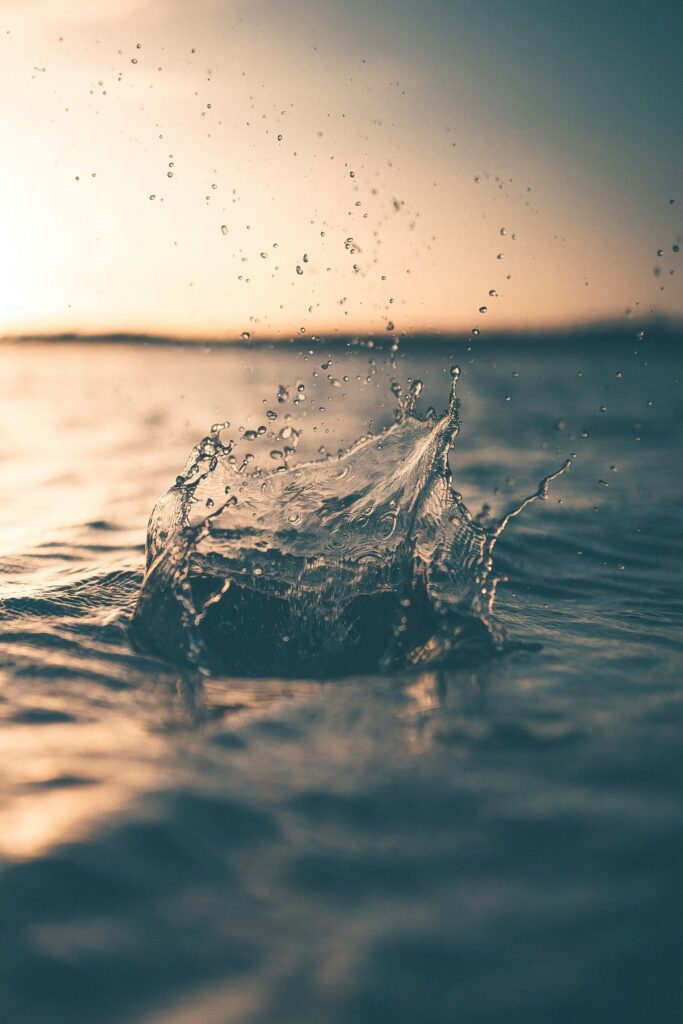
For video, an ND filter helps you keep that natural, cinematic motion blur. Video tends to look smoothest when your shutter speed is set roughly double your frame rate. On a bright day, that’s often impossible without dimming the light first — and that’s exactly where an ND filter saves the shot.
⚠️ Watch Out: Slow shutter speeds only look good when your camera is perfectly still. If you’re shooting long exposures, you’ll almost always need a tripod to avoid blurry, shaky results.
So… Do You Actually Need One as a Beginner?
Here’s the honest answer: it depends on what you like to shoot. An ND filter is a wonderful tool, but it’s not something every beginner must rush out and buy.
You’ll probably love having one if you:
- Want to shoot long-exposure photos of waterfalls, rivers, or seascapes
- Shoot video outdoors and want smoother, more natural-looking footage
- Like landscape photography in bright conditions
You can comfortably wait if you:
- Mostly shoot indoors, in low light, or at night
- Are still learning the basics of exposure and composition
- Shoot fast action or everyday snapshots where a slow shutter isn’t the goal
There’s no shame in starting without one. Master your camera first, and add an ND filter when you find a specific look you’re chasing. When that day comes, knowing the types will help you choose wisely.
Fixed vs. Variable ND Filters: What’s the Difference?
ND filters come in two main styles, and each suits a different kind of shooter.
A Fixed ND filter has one set strength. It’s simple and usually gives very clean image quality, but you may need a few different ones for different lighting.
A Variable ND filter lets you rotate a ring to adjust the darkness on the fly — like a dimmer switch. It’s flexible and great for video, though high-quality ones can cost more.
Here’s a simple comparison to help you decide:
| Feature | Fixed ND | Variable ND |
|---|---|---|
| Ease of use | One strength, very simple | Adjustable on the fly |
| Image quality | Usually very clean | Good, but varies by quality |
| Best for | Long-exposure photos | Video and changing light |
| Budget | Often more affordable | Often a bit pricier |
💡 Quick Tip: With cheaper variable ND filters, turning the ring to its extreme settings can sometimes create an uneven, dark “X” shape across your image. If you go variable, staying within the recommended range usually avoids this.
How to Choose Your First ND Filter
If you’ve decided an ND filter is right for you, here’s how to pick one without the headache.
1. Check your lens filter size first. This is the most important step. Look at the front of your lens or inside the lens cap for a number with a “Ø” symbol (like Ø58 or Ø67) — that’s the diameter in millimeters. Your filter must match this number.
2. Pick a strength (measured in “stops”). A lower strength is flexible for general use, while a higher strength is made for bright daylight long exposures. If you’re unsure, a mid-range strength is a sensible, all-purpose starting point.
3. Match it to your budget. Beginner-friendly budget filters are perfectly fine for learning. As you grow, mid-range and premium options offer cleaner results and less color shift. Buy the best you can comfortably afford — but don’t feel you need a premium one on day one.
Final Thoughts
📌 Key Takeaways
- An ND filter is like sunglasses for your lens — it controls light without changing colors.
- It’s the secret behind silky long-exposure photos and smooth, natural-looking video.
- You don’t need one as a beginner, but it’s a fun, affordable upgrade when you’re ready.
ND filters are one of those small accessories that can make a surprisingly big difference once you know how to use them. You don’t have to buy one today — but now you understand exactly what they do and whether one fits the kind of shooting you love. When you’re ready to experiment, you’ll be choosing with confidence instead of guesswork.
Happy shooting — and I hope this guide made ND filters feel a lot less confusing!
Leave a Reply