
 We’ve all been inspired by those breathtaking long-exposure waterfalls, crisp night skies, and cinematic videos, wishing we could create the same magic with our own cameras.

However, trying to capture those shots handheld often leads to blurry, disappointing results that don't match the vision in your head. By reading this guide until the end, you’ll discover exactly how to choose the perfect tripod that eliminates camera shake and unlocks the creative freedom you've been looking for.

1. Key Features to Look for in a Beginner Tripod
When you start shopping for a tripod, the endless list of technical specs can feel overwhelming. Instead of getting lost in the numbers, here are the five essential features you need to focus on to find a reliable companion for your camera.
1) Material: Aluminum vs. Carbon Fiber
The material determines both the weight of your tripod and your budget.
- Aluminum: Slightly heavier but very sturdy and budget-friendly. It’s the perfect choice for beginners who want a solid foundation without spending a fortune.
- Carbon Fiber: Incredibly lightweight and excellent at absorbing vibrations, but much more expensive.
2) Weight and Portability
The best tripod is the one you actually bring with you. If it’s too heavy, it will end up sitting in your closet. Look for something that fits comfortably on or inside your backpack.
3) Load Capacity (Weight Limit)
Every tripod has a maximum weight it can safely hold. Never look at just your camera body; you must calculate the combined weight of your camera, your heaviest lens, and any accessories like an external mic or flash.
4) Maximum and Minimum Height
For comfortable shooting, the tripod should bring the camera up to your eye level without making you bend over constantly. At the same time, a low minimum height is great if you want to get creative with low-angle ground shots.
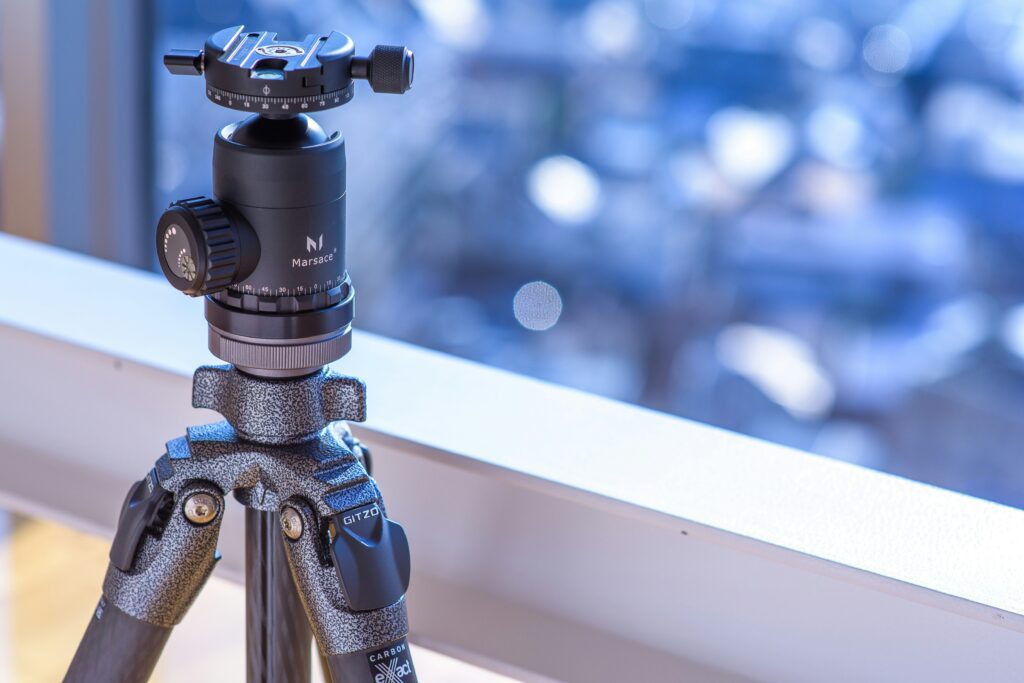
5) Head Type: Why Beginners Should Start with a Ball Head
The tripod head is the mechanism that lets you move and lock your camera. While there are specialized pan-tilt or fluid heads, a Ball Head is highly recommended for beginners. It allows you to adjust the camera in almost any direction with a single knob, making it fast, intuitive, and easy to use.
💡 Quick Tip: The 1.5x Rule for Load Capacity

When checking the load capacity, always give yourself a safety cushion. A good rule of thumb for beginners is to choose a tripod that can hold at least 1.5 to 2 times the total weight of your current camera and lens setup. This ensures maximum stability even on a windy day or if you upgrade to a heavier lens later!
2. Types of Tripods: Which One Fits Your Style?
Tripods are not one-size-fits-all. The right choice depends entirely on what, where, and how you love to shoot. Let’s look at the three main types so you can match one to your personal photography style.
1) Travel Tripods (Best for Adventurers and Explorers)
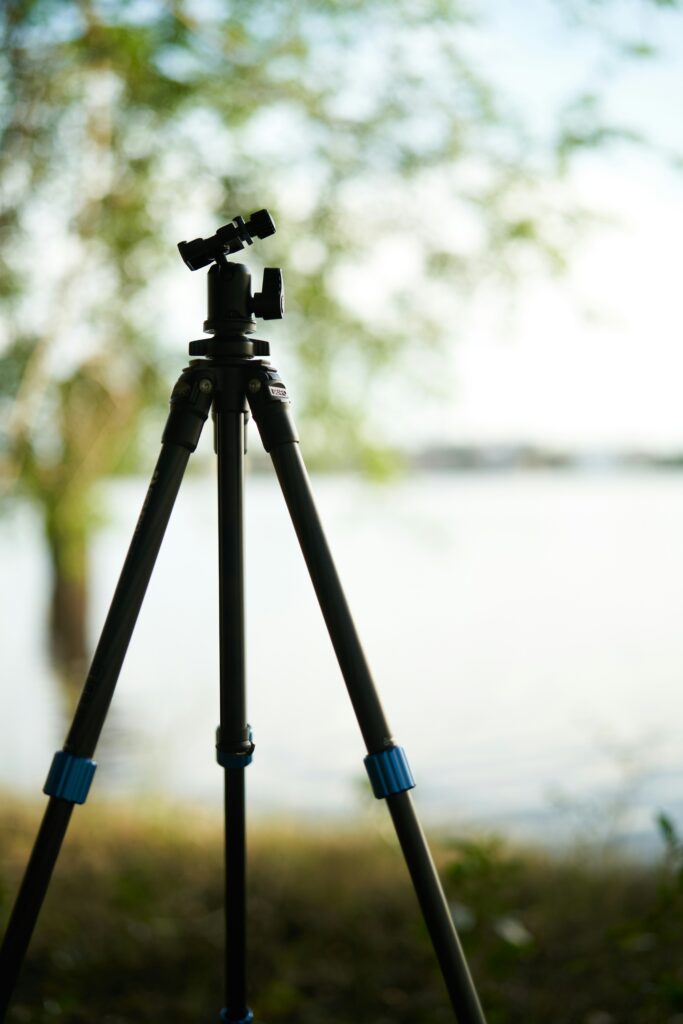
If your camera goes wherever you go, a travel tripod is your best bet. These are designed with legs that fold backward around the head, making them incredibly compact.
- The Vibe: Lightweight, compact, and easy to strap onto a camera bag.
- Perfect for: Landscape photographers who hike for miles, city travelers, and anyone who hates carrying heavy gear.
2) Studio / Classic Tripods (Best for Maximum Stability)
If you don’t plan on walking long distances with your gear, a classic tripod offers the ultimate stability. They are heavier and have thicker legs, which means they won’t budge even in windy conditions or under heavy camera setups.
- The Vibe: Solid, dependable, but a bit bulky to carry around.
- Perfect for: Studio portrait photographers, architectural shooters, or macro photographers who need absolute precision.
3) Tabletop & Mini Tripods (Best for Vlogging and Casual Shooting)
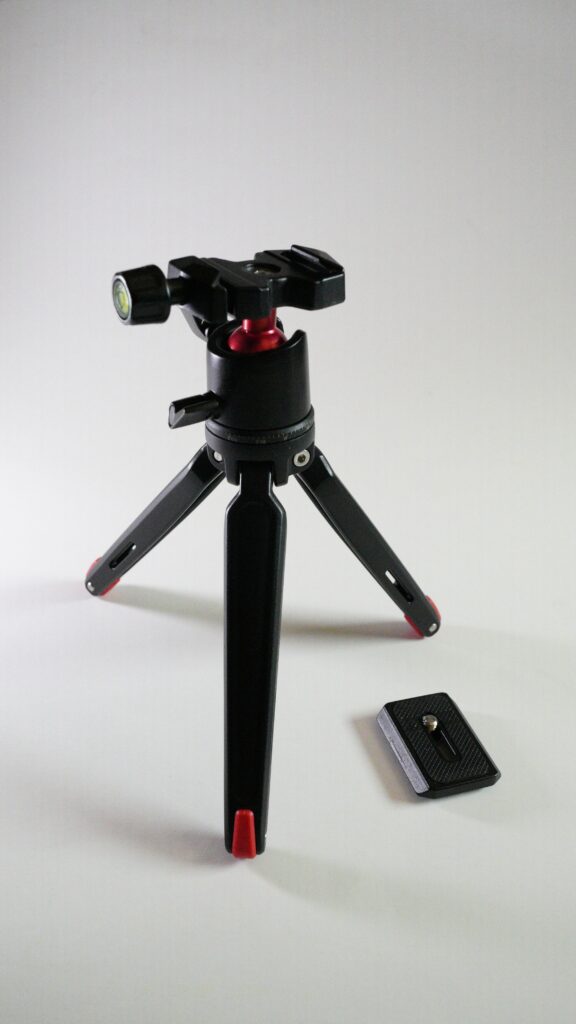
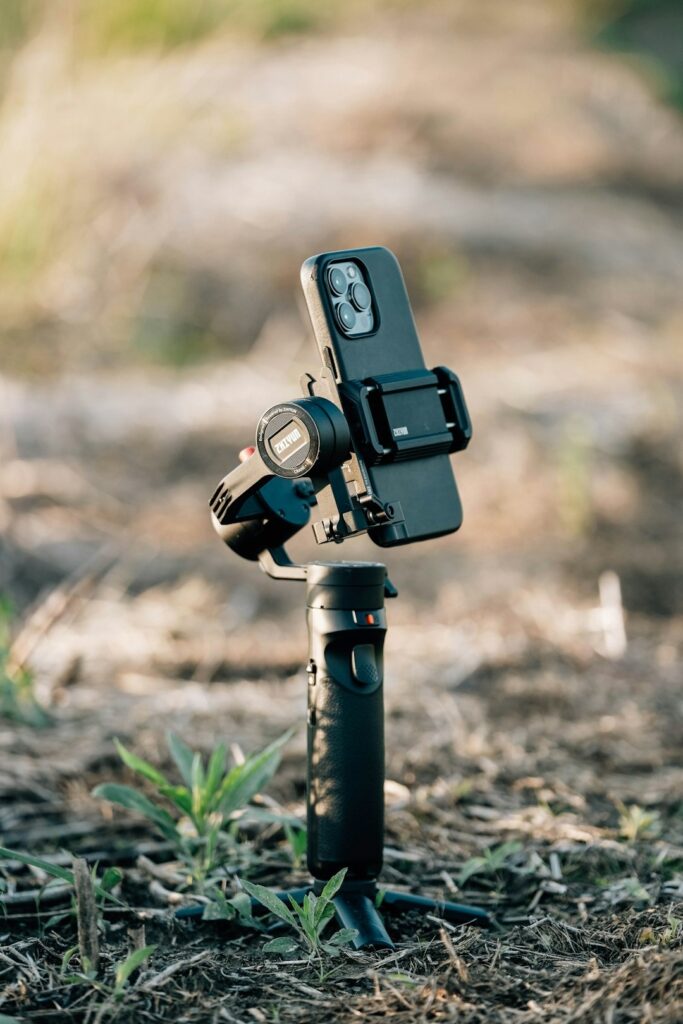
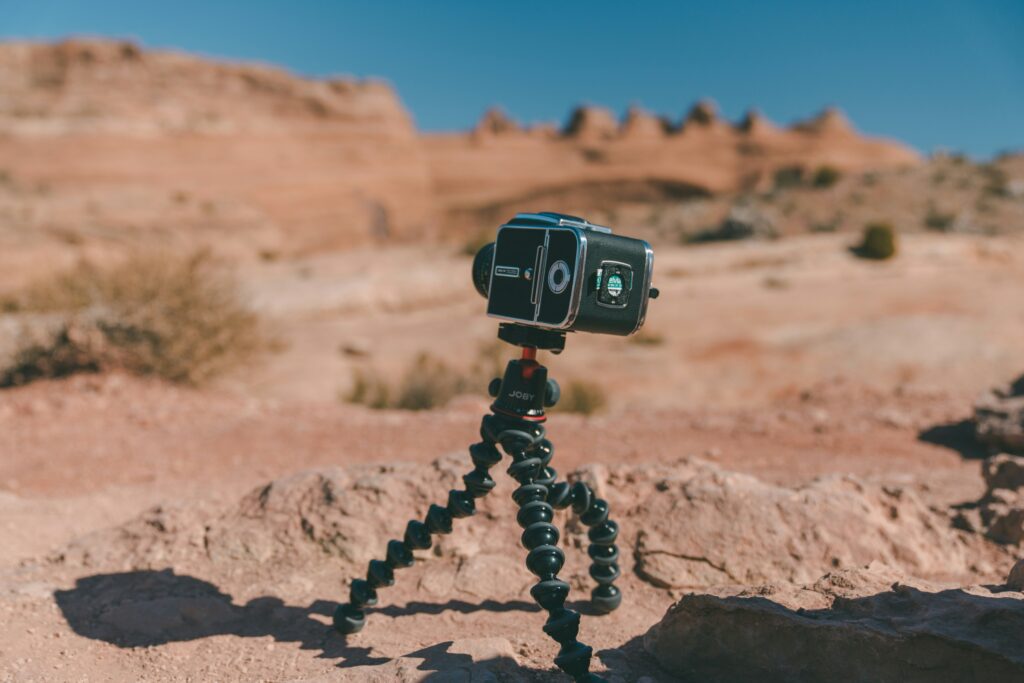
Sometimes you just need a quick, lightweight setup that fits in a jacket pocket or a small camera pouch. Mini tripods or flexible-leg tripods (like a GorillaPod) can be placed on a table, car hood, or wrapped around a tree branch.
- The Vibe: Ultra-portable, quick to set up, and highly versatile.
- Perfect for: Vloggers, content creators shooting on phones or small mirrorless cameras, and everyday casual shooters.
| Tripod Type | Key Benefit | Best For | Portability |
| Travel | Compact & Light | Hiking, City Tours, Vacation | ⭐⭐⭐⭐⭐ |
| Classic | Maximum Stability | Studio, Night/Landscape, Heavy Gear | ⭐⭐ |
| Tabletop / Mini | Pocket-sized | Vlogging, Casual Content, Mobile | ⭐⭐⭐⭐⭐ |
3. Common Mistakes Beginners Make When Buying a Tripod
When you’re excited about getting new camera gear, it’s easy to make a hasty decision. However, buying the wrong tripod can lead to buyer’s remorse—or worse, a damaged camera. Here are the most common mistakes beginners make and how you can avoid them.
1) Buying the Cheapest Option Available
It is incredibly tempting to grab a $20 plastic tripod from a local department store or a random online shop. But remember: a cheap tripod is cheap for a reason.
- The Risk: Thin plastic parts and flimsy legs shake with the slightest breeze. If the tripod tips over, your expensive camera and lens could end up broken on the ground.
- The Reality: Most photographers who buy the cheapest option end up buying a better one just a few weeks later. Save your money and invest in decent quality from the start.
2) Underestimating the Weight (The “Heavy Tripod” Trap)
Some beginners focus so much on stability that they buy a massive, heavy-duty studio tripod. While it will definitely keep your camera safe, you will quickly realize how frustrating it is to carry around.
- The Result: If your tripod is too heavy or awkward to pack, you will start leaving it at home. A tripod sitting in your closet is completely useless, no matter how stable it is.
3) Ignoring the Load Capacity
Many people look at a tripod and think, “It looks strong enough to hold my camera.” However, they forget to account for their heaviest zoom lens, a shotgun microphone, or a heavy ball head. Exceeding the load capacity causes the tripod legs to slowly slide down or the head to drift, ruining your long-exposure shots or videos.
⚠️ Watch Out: The “Buy It Twice” Syndrome
There is a famous saying among photographers: “The most expensive tripod is the cheap one you buy first.” Buying a flimsy tripod for $20, realizing it doesn’t work, and then buying a proper $100 tripod means you’ve spent $120 total. Skip the frustration and aim for a reliable, mid-range entry model right from the beginning. It actually saves you money in the long run!
4. Final Tips and How to Make Your Choice
Choosing your first tripod doesn’t have to be overwhelming. By focusing on your specific shooting style, understanding the key features, and avoiding the trap of ultra-cheap gear, you are already ahead of the game.
To help you lock in what you’ve learned today, here is a quick summary of how the right tripod will transform your photography:
📌 Key Takeaways: Why the Right Tripod Matters
- Ultimate Sharpness: It completely eliminates camera shake, allowing you to capture crisp long-exposures and clean low-light shots.
- Creative Freedom: It opens the door to advanced techniques like time-lapses, smooth panoramic landscapes, and perfectly framed self-portraits.
- Smart Investment: Choosing a reliable mid-range model from the start protects your expensive camera gear and saves you money in the long run
📸 Your Creative Journey Starts Now!
Every professional photographer you admire started exactly where you are today. Investing in a tripod is more than just buying a piece of plastic and metal—it is an investment in your creative growth. Don't worry too much about having the most expensive gear; just find the one that fits your current lifestyle and get out there to shoot.
I hope this guide helps you find your perfect camera companion. I can’t wait to see the incredible, crystal-clear stories you’ll capture! Happy shooting!
Leave a Reply