
Have you ever taken a photo that came out too dark, slightly blurry, or weirdly grainy — even though the scene looked perfect to your eyes? If so, you’re not alone. Most beginners run into this the moment they try to step away from Auto mode.
Here’s the good news: almost every “bad” photo comes down to just three settings working together. They’re called the exposure triangle — aperture, shutter speed, and ISO. Once these three click into place, manual mode stops feeling scary and starts feeling like a superpower. In this guide, you’ll learn what each one does in plain English, and how they team up to create a well-exposed photo.
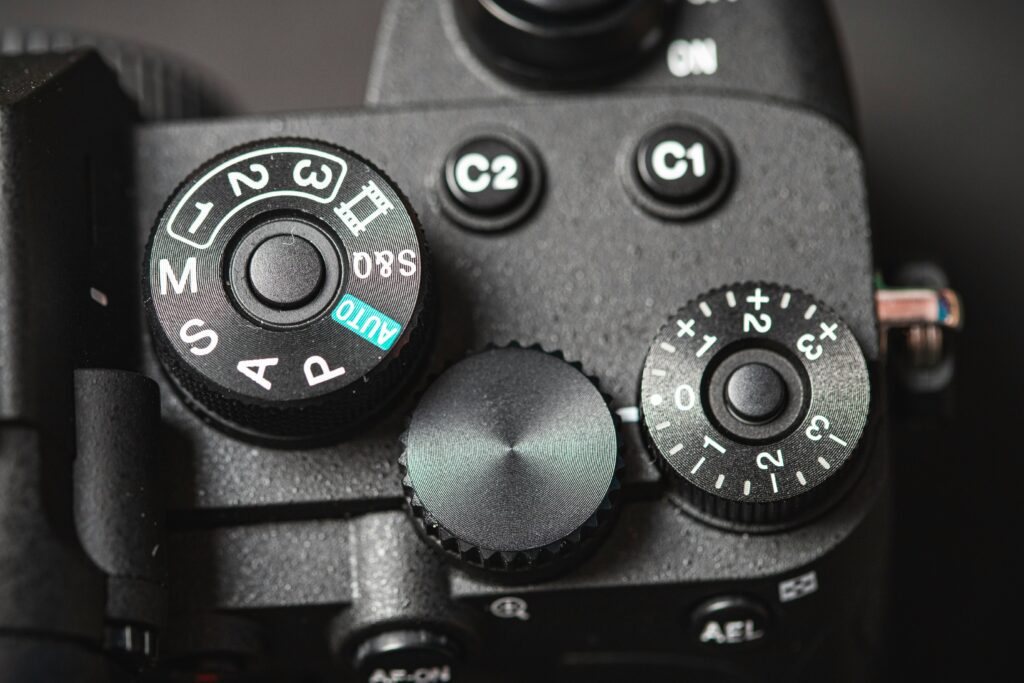
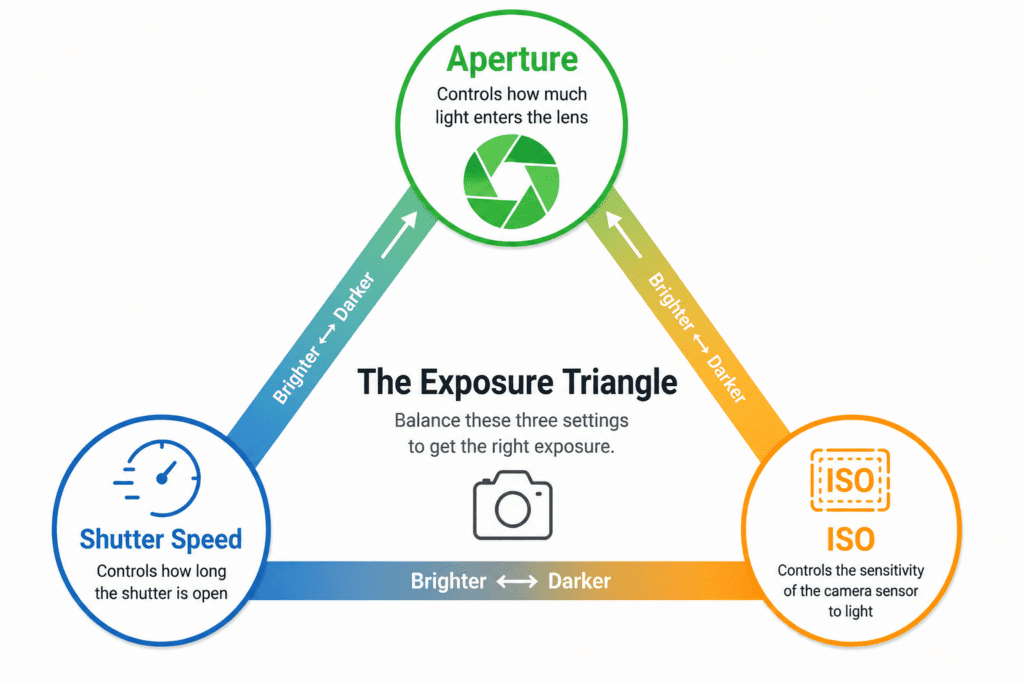
What Is the Exposure Triangle?
“Exposure” is just a fancy word for how bright or dark your photo is. Get it right, and your image looks natural. Get it wrong, and it’s either too dark (underexposed) or too bright (overexposed).
Three settings control that brightness, and together they form the exposure triangle:
- Aperture — how wide the lens opens
- Shutter speed — how long the camera lets light in
- ISO — how sensitive the camera is to light
It’s called a triangle because the three are connected. Change one, and you usually need to adjust another to keep your photo looking balanced. Think of it like a recipe: if you add more of one ingredient, you adjust the others to keep the flavor just right.
Let’s look at each corner of the triangle, one at a time.
Aperture: Light and Background Blur
Aperture is the opening inside your lens that lets light through — a lot like the pupil in your eye. It can open wide to let in more light, or close down to let in less.
Aperture is measured in f-numbers, like f/1.8 or f/11. Here’s the part that trips up beginners: a lower f-number means a wider opening. So:
- A low f-number (like f/1.8) = more light + a softer, blurrier background
- A high f-number (like f/11) = less light + more of the scene in sharp focus
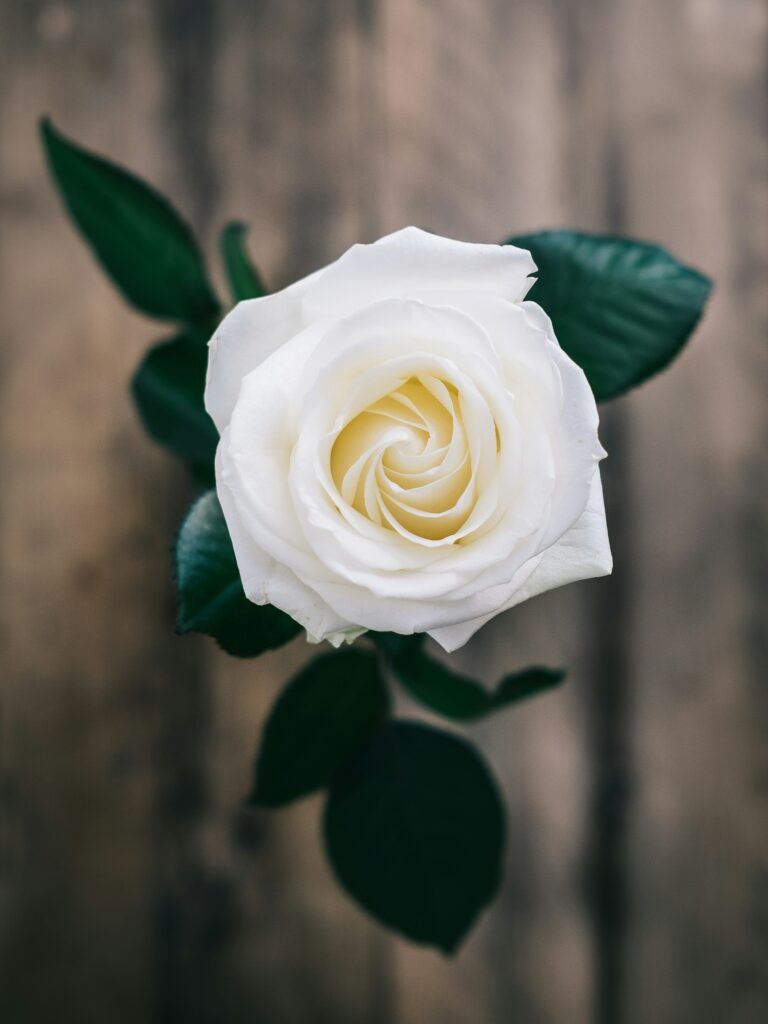
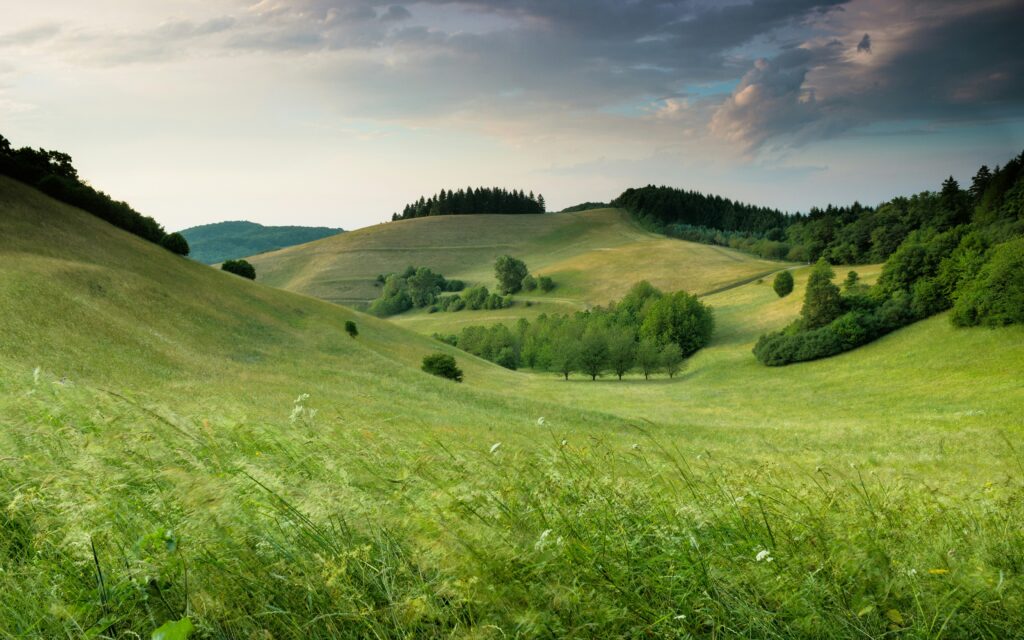
That blurry-background look you love in portraits? That comes from a low f-number. A landscape where everything is crisp from front to back? That’s a higher f-number.
💡 Quick Tip: An easy way to remember it: lower f-number = more light and more blur. The smaller the number, the bigger the opening — and the dreamier the background.
Shutter Speed: Freezing or Blurring Motion
If aperture controls light through space, shutter speed controls it through time. It’s simply how long the camera’s shutter stays open to let light hit the sensor.
It’s measured in seconds or fractions of a second, like 1/1000 or 1/30. And it does two things at once:
- A fast shutter speed (like 1/1000) freezes motion — great for sports, pets, or kids
- A slow shutter speed (like 1/30 or slower) lets motion blur appear — think flowing water or light trails
Faster shutter speeds also let in less light, while slower ones let in more. So on a dark day, a slower shutter can brighten your shot — but it comes with a catch.
⚠️ Watch Out: Slow shutter speeds make your photos very sensitive to shake. Even a tiny hand movement can blur the whole image. For slow shutter shots, a tripod is your best friend.
ISO: Brightness Without More Light
Sometimes you’ve opened your aperture and slowed your shutter as much as you can, and the photo is still too dark. That’s where ISO comes in.
ISO controls how sensitive your camera is to light. Raise it, and your photo gets brighter without changing aperture or shutter speed.
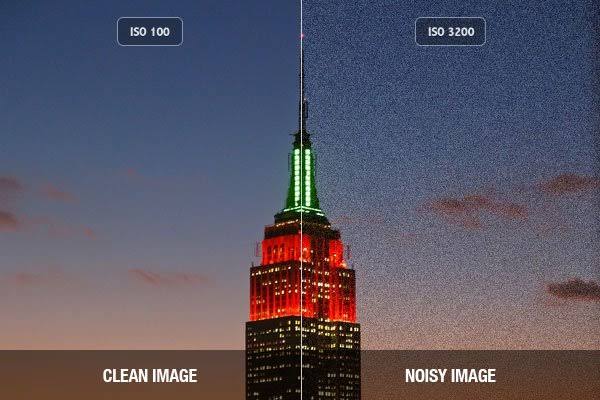
- A low ISO (like 100) = clean, crisp image quality (best in good light)
- A high ISO (like 3200 or higher) = brighter in the dark, but with more “noise”
That noise is the grainy, speckled texture you sometimes see in low-light photos. ISO is a helpful rescue tool when light is scarce — you just don’t want to lean on it more than you have to.
💡 Quick Tip: Keep your ISO as low as the lighting allows. Raise it only when aperture and shutter speed can’t brighten the shot enough on their own. Clean light beats high ISO every time.
Putting It All Together: How the Three Balance Each Other
Here’s the heart of it: these three settings work like a seesaw. If you change one to let in more or less light, you adjust another to keep the brightness balanced.
For example, if you open your aperture for a blurry background (letting in more light), you might use a faster shutter speed to avoid an overexposed, too-bright photo. Each setting also has a creative “side effect” — blur, motion, or noise — so you’re always balancing brightness and look at the same time.
Here’s a simple cheat sheet:
| Setting | Controls | “More” gives you | Side effect to watch |
|---|---|---|---|
| Aperture | Lens opening | More light + blurry background | Less of the scene in focus |
| Shutter Speed | Time light enters | More light (slower) | Motion blur / shake |
| ISO | Light sensitivity | More brightness | More grain (noise) |
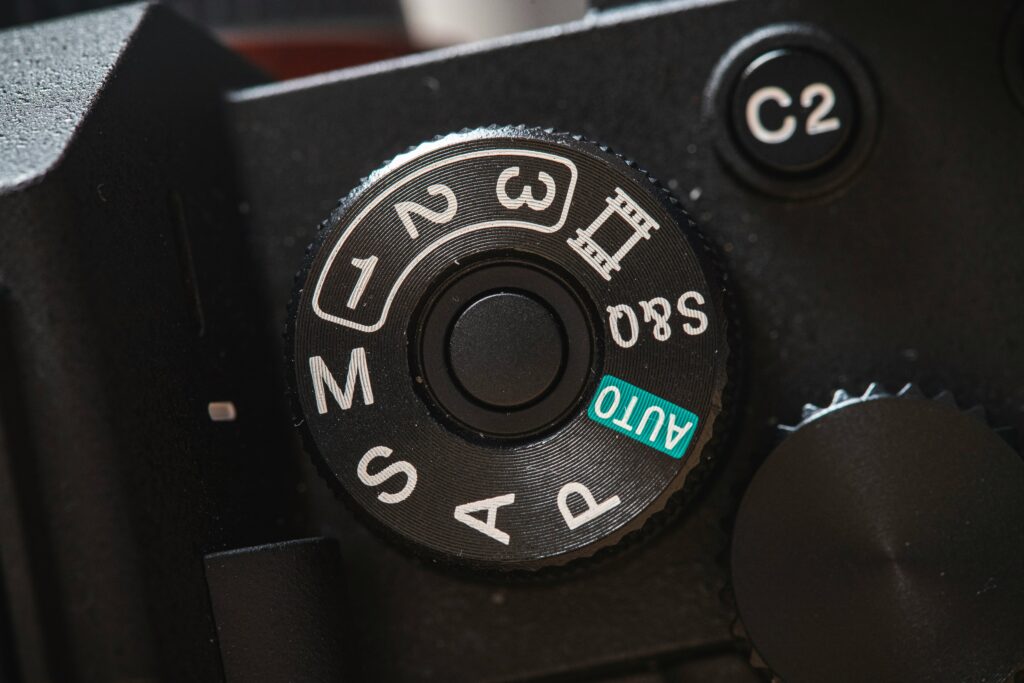
The best way to learn this is to change just one setting at a time and see what happens. Put your camera in manual (or aperture-priority) mode, take the same photo a few times with different settings, and compare. You’ll understand the triangle faster from ten minutes of playing than from any amount of reading
Final Thoughts
📌 Key Takeaways
- Aperture controls light and background blur — lower f-number means brighter and dreamier.
- Shutter speed controls light and motion — fast freezes action, slow creates blur.
- ISO controls brightness in low light — but raise it carefully to avoid grain.
The exposure triangle feels confusing at first, but it really is just three friendly settings learning to work together. Once you understand how they balance each other, manual mode stops being intimidating — and you start making creative choices instead of leaving everything up to your camera. That’s the moment your photos start to feel like yours.
So grab your camera, switch out of Auto, and try changing one setting at a time. You’ve got this — and I hope this guide made the exposure triangle finally click!
Want to keep learning? Check out these beginner guides next:
Leave a Reply